You could disable automatic updates in Windows. However, that’s risky as you might miss out on other critical updates. A better solution would be to prevent Windows from installing the problematic update on your computer. This article will walk you through two methods for hiding specific updates in Windows. So, without further ado, let’s get right to it.
Hide a Windows Update Using the Show or Hide Updates Troubleshooter
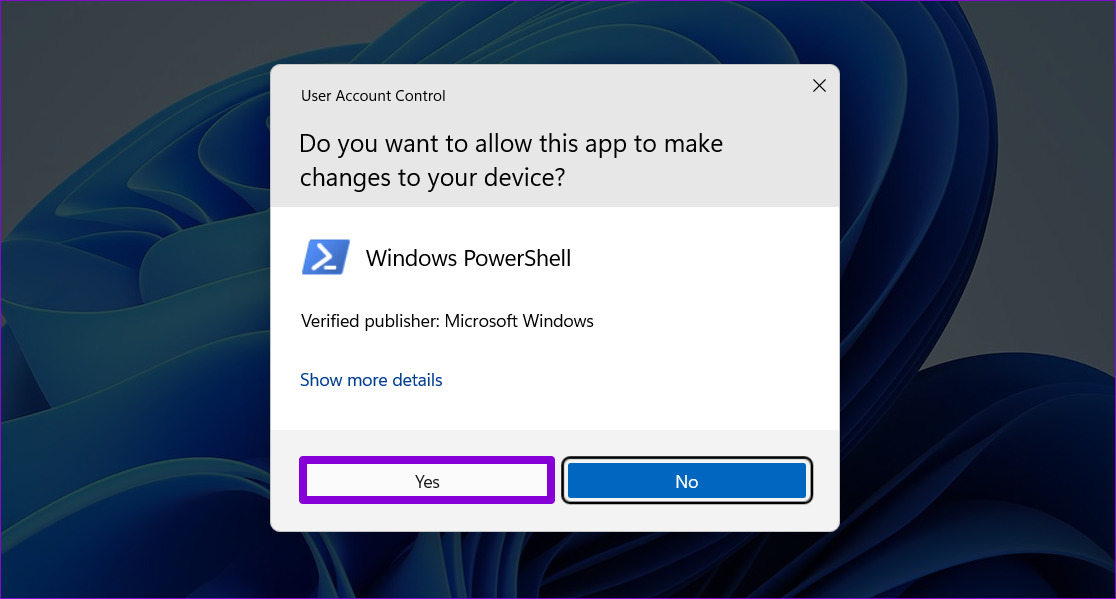
Microsoft’s ‘Show or hide updates’ tool makes it simple to hide specific Windows Updates on your computer. You can use this tool to hide system updates that you don’t want to install. Since this tool is not pre-installed on your Windows computer, you’ll need to download it first. Download the Show or Hide Updates Tool After downloading the tool, follow the steps below to hide a specific update on your Windows computer. Of course, you’ll need to an account with administrative rights. Step 1: Double-click the downloaded file to launch the ‘Show or hide updates’ tool. Step 2: Select Yes when the User Account Control (UAC) prompt appears.
Step 3: Click Next.
Step 4: Select Hide updates.
Step 5: The tool will list all the pending updates. Use the checkbox to select the update you want to hide and click Next.
Step 6: Wait for the troubleshooter to hide the specified update and click the Close button to exit the tool.
After that, Windows will no longer show the specified update. But, if a problematic update is already installed on your computer, you’ll need to uninstall the update and then use this tool to hide it. If you change your mind later, you can always unhide these updates with the same tool. Here’s how: Step 1: Open the ‘Show or hide updates’ tool on your computer. Step 2: Click Next.
Step 3: Select the ‘Show hidden updates’ option.
Step 4: Select the update you want to unhide and click Next.
Step 5: Click on Close.
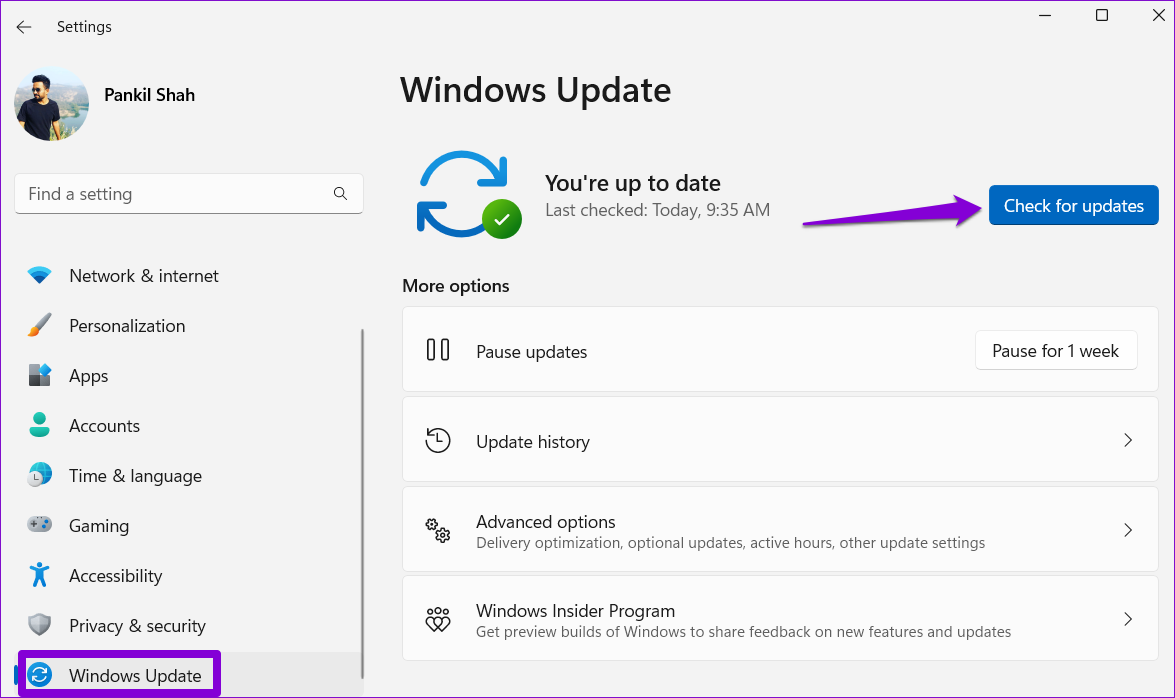
Step 6: Press the Windows key + I shortcut to launch the Settings app and head to the Windows Update section. Click the ‘Check for updates’ button and your updates will show up.
Hide a Windows Update Using PowerShell
PowerShell is a command-line tool that lets you interact with Windows through text commands. You may already be using it to automate certain tasks, fix system files and perform other administrative functions. However, did you know you could also use PowerShell to hide specific updates? We’ll show you how. The only risk is that you’ll need to be careful while entering the commands and exact update name. To hide a Windows update using PowerShell: Step 1: Click the search icon on the Taskbar, type Windows PowerShell in the box, and select Run as administrator.
Step 2: When the User Account Control (UAC) prompt appears, select Yes to continue.
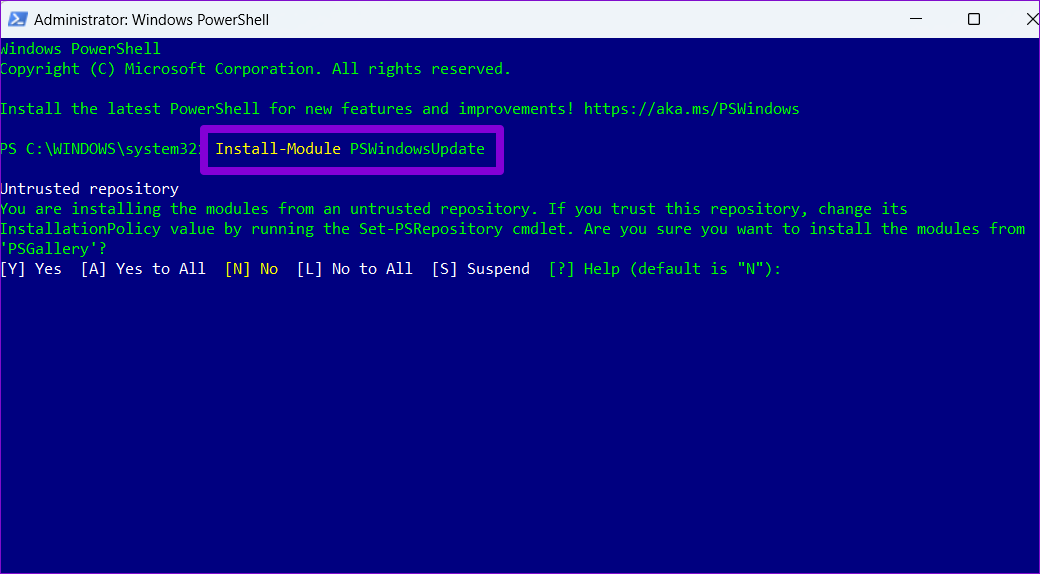
Step 3: Paste the following command and press Enter to install the PSWindowsUpdate module on your computer.
Step 4: Type A and press Enter to confirm.
Step 5: Paste the following command and press Enter to view a list of pending Windows updates. Step 6: Note down the name of the update you want to hide from the Title column.
Step 6: Run the following command and press Enter to hide the update. Replace UpdateName in the above command with the actual name of the update noted earlier.
Step 7: Press the A key and then Enter to confirm your choice.
After that, Windows will hide the specified update. You can confirm this change by checking the update status in the Status column. In case you want to unhide the update later, you can run the following command in PowerShell. Make sure you replace the UpdateName in the above command with the actual name of the update.
Block the Unwanted
It’s almost always favorable to keep your computer up to date with the latest Windows updates. However, sometimes you may want to avoid an early build of a major update or a specific driver update to steer clear of bugs and compatibility issues. Whatever your reason may be, blocking specific updates, as we just saw, is a pain-free process on both Windows 10 and Windows 11.


