You can add a password to your Microsoft PowerPoint presentation to bump up its security and share it with your peers. This post will show you the steps to do the same on Windows and Mac.
Add Password to a PowerPoint Presentation on Windows
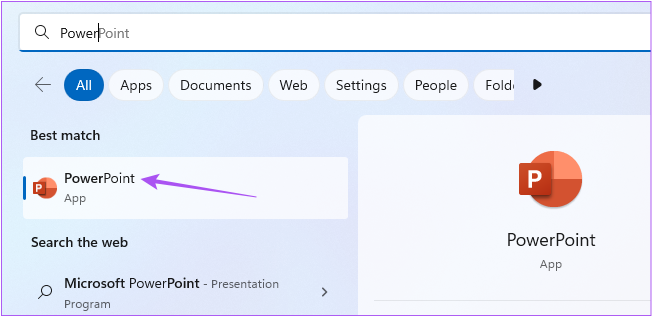
Let’s start by showing you the steps for protecting your Microsoft PowerPoint presentation with a password if you are using a Windows PC or laptop. We will use a Microsoft 365 account to show you the steps. Do note that if you forget the password, you can’t retrieve the password and access your presentation. Here are the steps to add a password. Step 1: Click the Start icon on your Windows PC, search for Microsoft PowerPoint, and press Return.
Step 2: Open the presentation file where you want to add a password. Step 3: Click on File at the top-left corner.
Step 4: Click on Info from the left menu.
Step 5: On the right side, click on Password Protection.
Step 6: Select Encrypt With Password.
Step 7: Add your password and click Ok.
Step 8: Re-enter your password and click on Ok to confirm.
Step 9: Go back to your presentation and press Control + S to save changes. That’ll protect your presentation file a password. Whenever you try to open it, a prompt will be displayed to enter the password.
Bonus Tip – Remove Password From PowerPoint Presentation
Here’s how you can remove the password from a Microsoft PowerPoint presentation file on your Windows PC. Step 1: Click the Start icon on your Windows PC, search for Microsoft PowerPoint, and press Return.
Step 2: Open the presentation file you want to remove the password. Step 3: Click on File at the top-left corner.
Step 4: Click on Info from the left menu.
Step 5: On the right side, click on Password Protection.
Step 6: Select Encrypt With Password.
Step 7: Select your previously added password and press Delete.
Step 8: Click Ok to save changes.
Step 9: Go back to the presentation and press Control + S to save changes. That’ll remove the password from your presentation file.
Add Password to a PowerPoint Presentation on Mac
If you have a Mac, we suggest updating the PowerPoint app before following the steps. After that, here’s how to add a password to your Microsoft PowerPoint presentation. Step 1: Press Command + Spacebar to open Spotlight Search, type Microsoft PowerPoint, and press Return.
Step 2: Open the presentation file in which you want to add a password. Step 3: Click on File at the top-left corner.
Step 4: Select Passwords from the list of options.
Step 5: Enable the checkbox next to ‘Encrypt this presentation and require a password to open.’
Step 6: In the new pop-up window, enter your password for the presentation file.
Step 7: Click on Set Password button.
You can also select ‘Require a password to modify the presentation’ to prevent unwanted access.
Step 8: Click on Ok.
Step 9: Press Command + S to save changes. That’ll protect your presentation file with a password. Next, whenever you try to open it, a prompt will be displayed to enter the password.
Bonus Tip – Remove Password From PowerPoint Presentation
Here’s how you can remove the password from your presentation file in Microsoft PowerPoint on Mac. Step 1: Press Command + Spacebar to open Spotlight Search, type Microsoft PowerPoint, and press Return.
Step 2: Open the presentation file in which you want to add a password. Step 3: Click on File at the top-left corner on the menu bar.
Step 4: Select Passwords from the list of options.
Step 5: Click the checkbox next to ‘Encrypt this presentation and require a password to open’ to disable the feature.
Step 6: Click on Ok.
Step 7: Press Command + S to save changes. Your password has been removed from the presentation file.
Protect Your PowerPoint Presentations
Adding a password to your PowerPoint presentation will secure your confidential data, figures, graphs, and more on your Mac and Windows PC. A password-protected file is one of the reason why a presentation doesn’t open on your Mac. Besides, you’ll need to be careful and pay attention when the PowerPoint file is not saving on your Mac. The above article may contain affiliate links which help support Guiding Tech. However, it does not affect our editorial integrity. The content remains unbiased and authentic.


![]()


